Getting Started with Jozu Hub
In this guide you'll learn how to:
- Find models and datasets on Jozu Hub
- View ModelKit versions - called "tags"
- See what's inside a ModelKit without pulling it
- Pull a ModelKit and unpack it locally
- Create your own repository
- Push a ModelKit to your repository
For the best experience sign up - registered users can push ModelKits to public repositories and even have one free private repository in their personal organization.
INFO
The Jozu Hub is in beta, so not everything works yet and we would love your feedback: reach us at [email protected]. Today you can pull ModelKits from any public repository, and push ModelKits to any repository in your personal organization (it's created when you sign-up).
In the future we'll be adding paid plans that allow you to create new branded organizations and use private repositories. We'll be sending out updates to registered users as new features are added.
Finding Models and Datasets
Navigating repositories
Every repository is owned by an organization (even if it's just your personal organization), and is similar to a folder. Repositories contain ModelKits and a repository can contain multiple "tags" (similar to versions) of each ModelKit.
INFO
For more info on ModelKits see the open source KitOps project documentation.
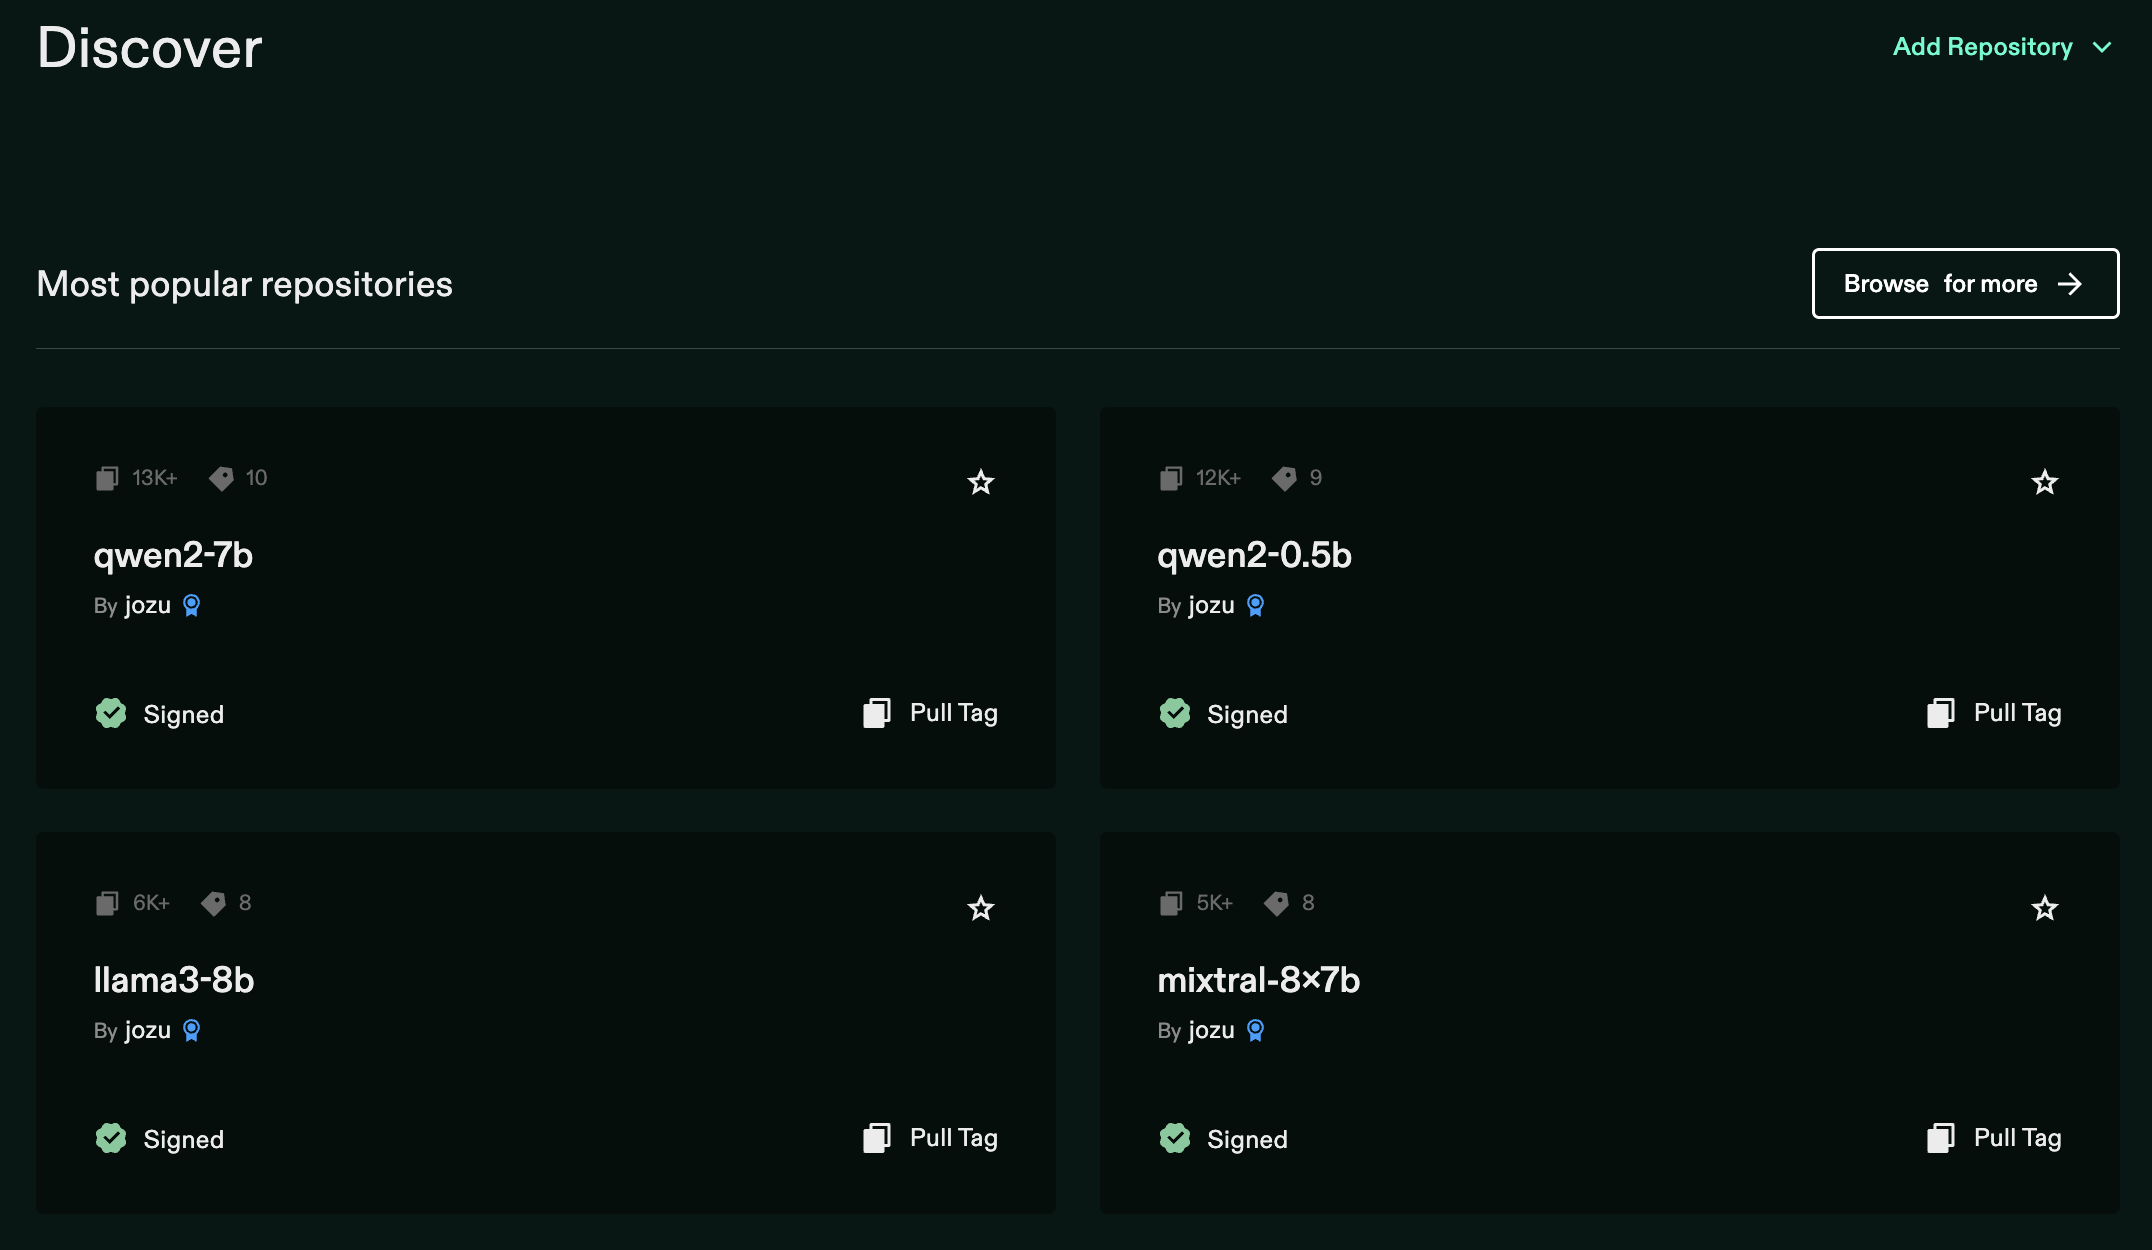
The ModelKits on Jozu Hub make a great starting point for enterprise AI/ML projects. The Discover page lists the most popular, trending, and newest models, or you can use the Browse page or the search bar to find what you need. If you don't see a model you'd like to use send us a note at [email protected] with your wishlist.
Viewing a ModelKit in a repository
Once you see a repository that's interesting, you can click the repository card to enter the repository. Here you'll see the repository name, publisher, a description of the repository and the owner.
In the Repository Details section you'll see more information on each ModelKit tag, including:
- Name of the ModelKit's tag (more on that below)
- Number of pulls for the specific ModelKit
- When the ModelKit was updated
- Size of the ModelKit
TIP
The size of the ModelKit is inclusive of that package only. If a ModelKit references a base model from a different ModelKit then pulling one will pull both ModelKits. You can learn more about referencing base models in the Model Parts KitOps documentation.
Understanding Tags
A tag is a name for the ModelKit. You can think of it as the ModelKit's filename. Often tags will be used to indicate a version (e.g., latest
or 1.4
), but they can also be used to indicate specifics about what's in the ModelKit - like the quantization of a model (e.g., q8_0
or q4_0
), or the purpose of a dataset (e.g., validation
or training
).
In the repository view, you will see a tag for each row of the table.
See what's inside a ModelKit
Clicking on a tag will pop up the detail view. Here you can see the creator of the ModelKit and the unique SHA digest for that ModelKit. The digest on the hub can be compared to the digest of a pulled version to make sure they transferred correctly and haven't been tampered with. This is important for using ModelKits in a CI/CD pipeline to ensure that your automation works reliably.
To the right you'll see the ModelKit contents. ModelKits are unique because they include:
- Models
- Datasets
- Codebases
- Docs
- Configuration files
The ModelKit contents shows the number of each type of artifact included in the ModelKit tag.
Clicking the "More Details" button at the bottom of the contents section will give you more information like the license, path that the artifact will reside once it is unpacked, and other metadata.
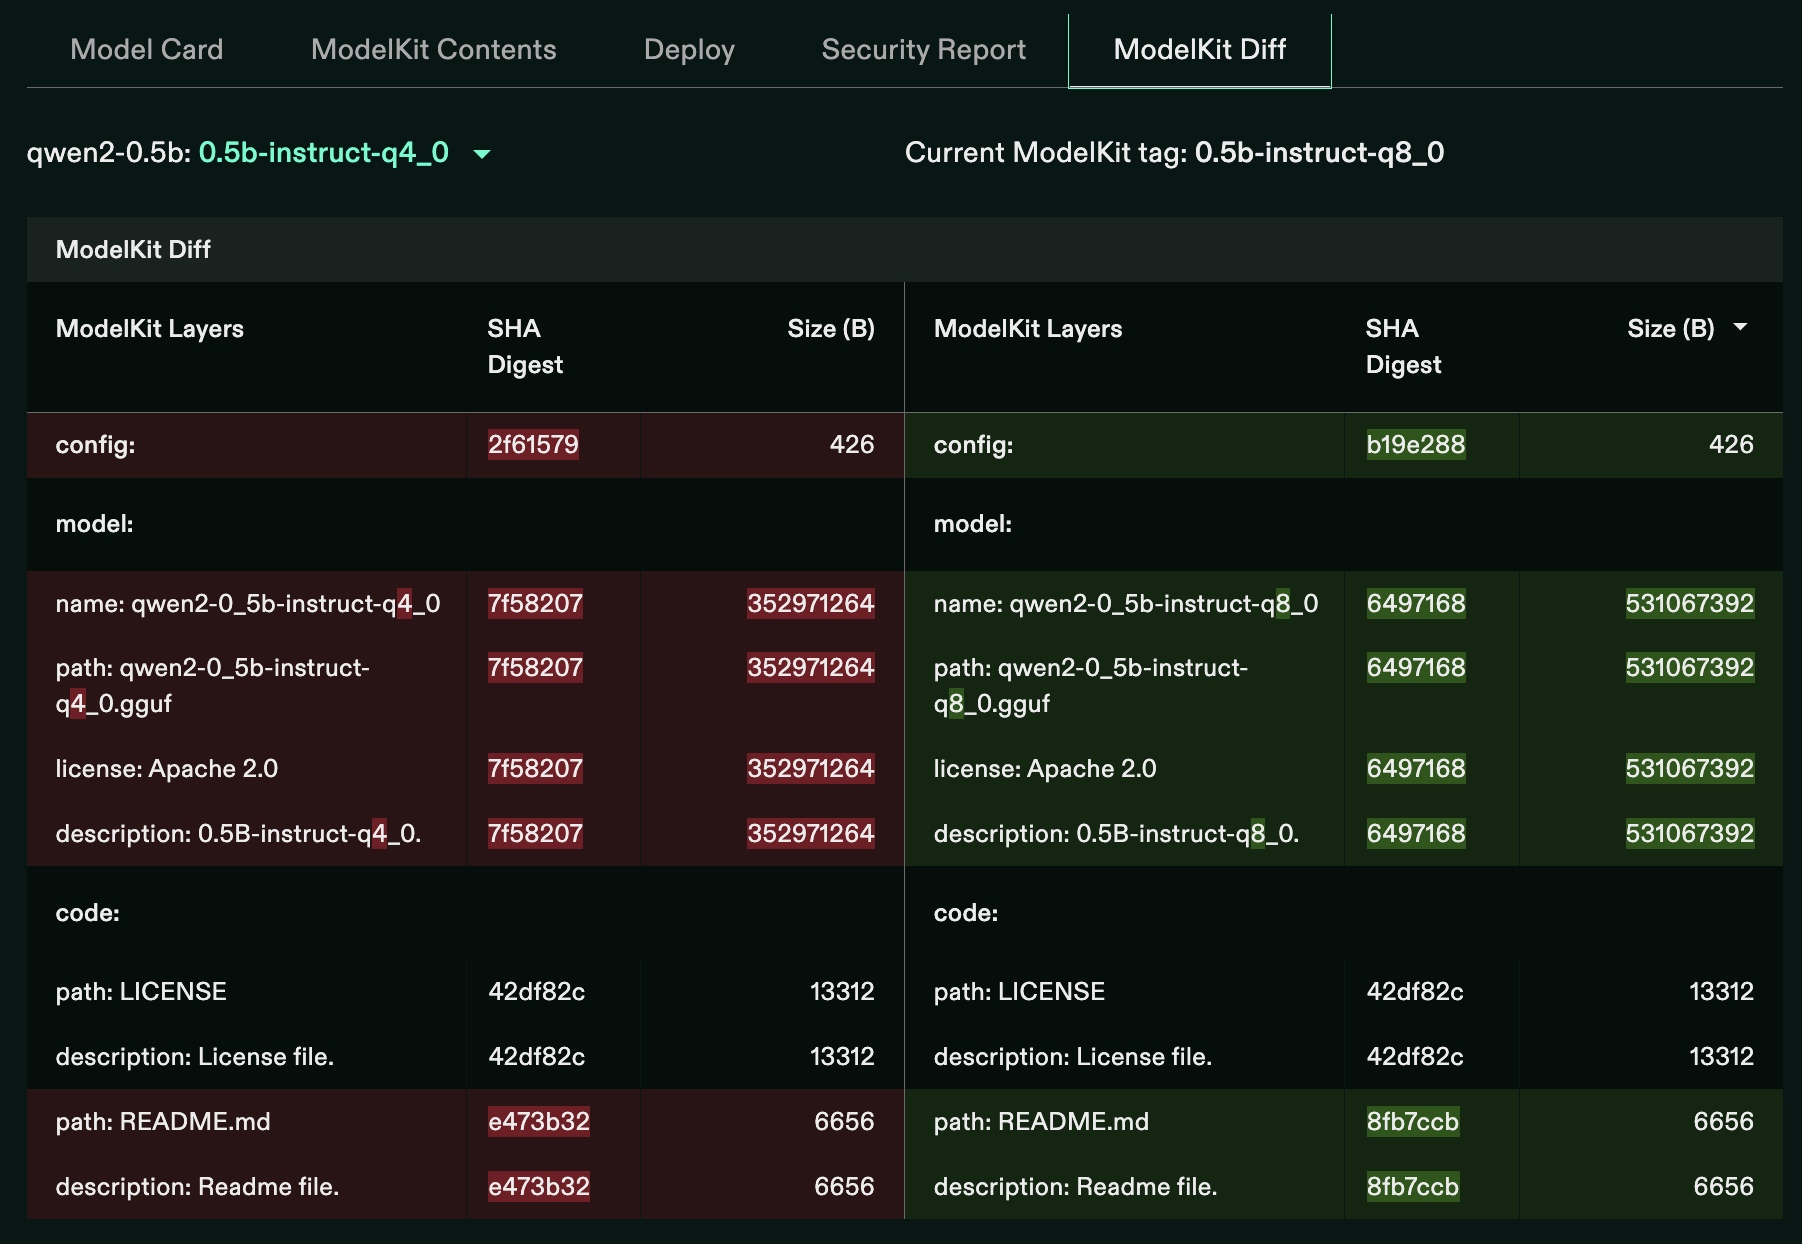
We will be adding functionality to Diff ModelKit tags and deploy a ModelKit to a serving environment. Registered users will be the first to hear about new upcoming features so make sure to sign up for a Jozu user account.
Pulling a ModelKit
To use a ModelKit you need to either pull it or unpack it using the Kit CLI.
To pull a ModelKit use the copy icon to get the Kit CLI command you'll need, then click the copy button inside the pop-up to copy the command to your clipboard.
Finally, open a command prompt on a machine where the Kit CLI is installed, and paste the command.
sh
kit pull jozu.ml/jozu/snowflake-arctic-embed:l-onnx
Many organizations are using KitOps' ModelKits in their AI/ML project development pipelines. Often as the "gate" between development and production. An example of using KitOps with a GitHub Action is outlined in this blog.
Creating your own Repository
To create your own repository you must be signed in. If you haven't already, sign up. If you've already signed up, make sure you're logged in.
Once you're logged in click the Add Repository
button - this will open a modal box where you can enter in the repository name and optional description. Finally, click Create Repository
.
This will bring you to a new screen with the name of your repository at the top and instructions on how to push to the repository below.
Pushing a ModelKit to your Repository
Now that you have your own Repository you can push your ModelKits to it. If you haven't created a ModelKit yet, you can learn how to do it from the open source KitOps quick start.
With your ModelKit packed on your machine, push it to your repository using the following command:
sh
kit push jozu.ml/[your-user-name]/[your-repository-name]:[tag-name]
In my case I'm pushing a ModelKit tagged latest
to a repository called test
in my account called brad
:
sh
kit push jozu.ml/brad/test:latest
In the Kit CLI window you will see a set of Copying
commands and a final message that says Pushed sha256:...
.
Refreshing your browser in the repository you pushed to will show the new ModelKit tag.